How to make an MDF space winner to measure

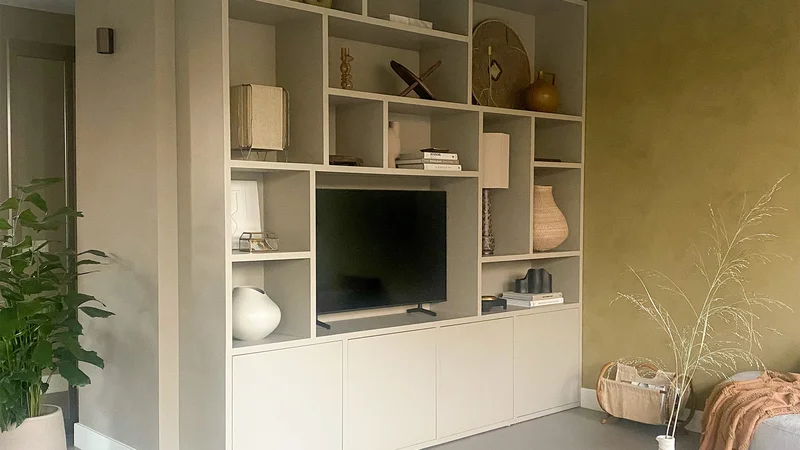
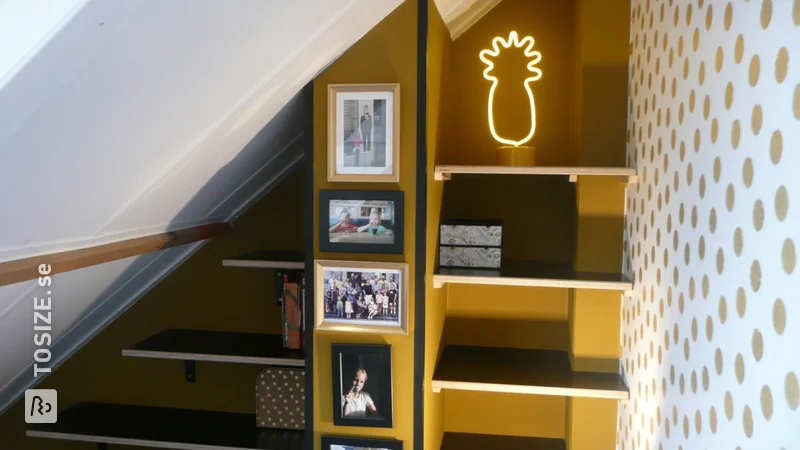
Feel the need to minimise? Start in the attic! That's generally where most of your stuff is! If you start decluttering, you really don't need to throw everything away; you only keep what you really use or value. Store those things neatly in an MDF space winner in the attic. Make the space winner yourself from MDF, in the size that fits exactly under the sloping roof of your attic, and let us cut the MDF to size. That is really convenient!
Step 1: Design your space winner from MDF
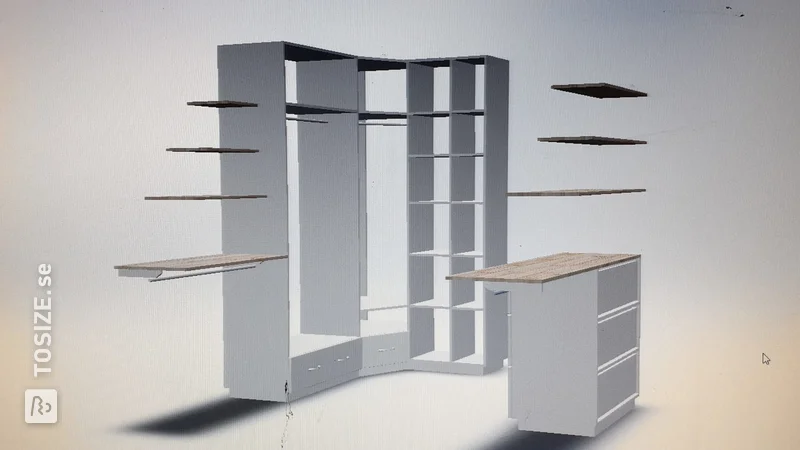
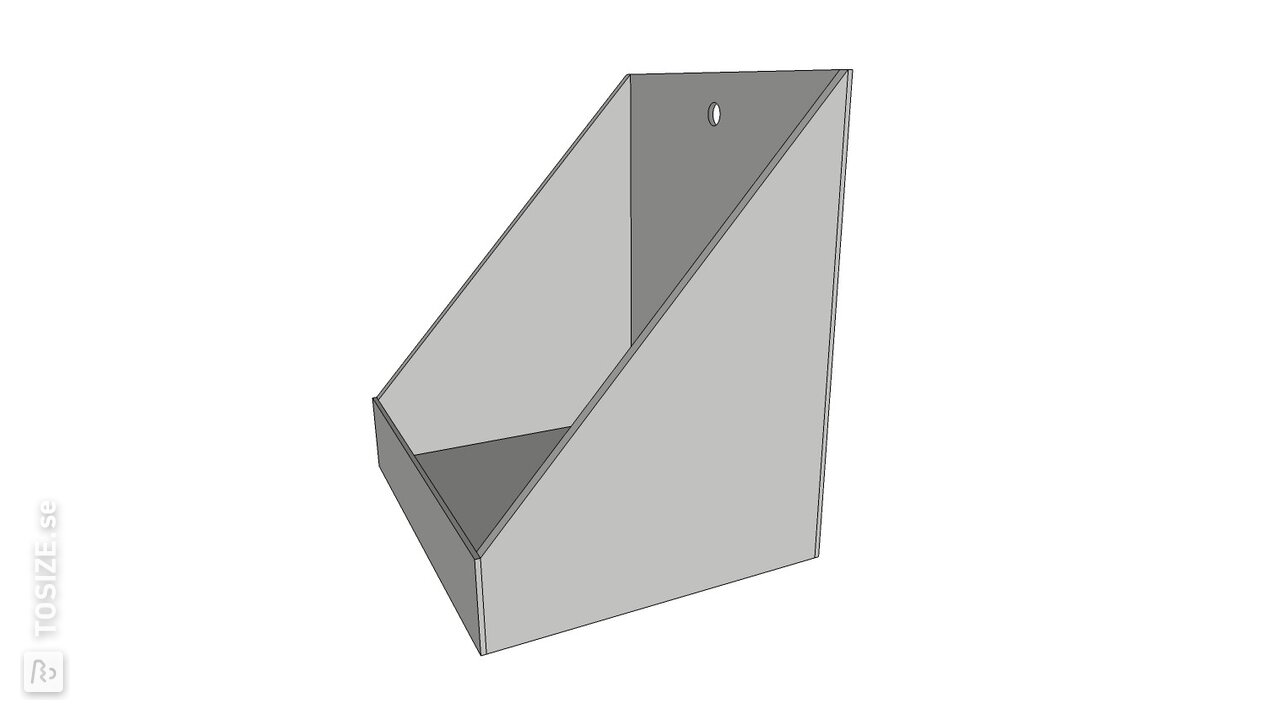
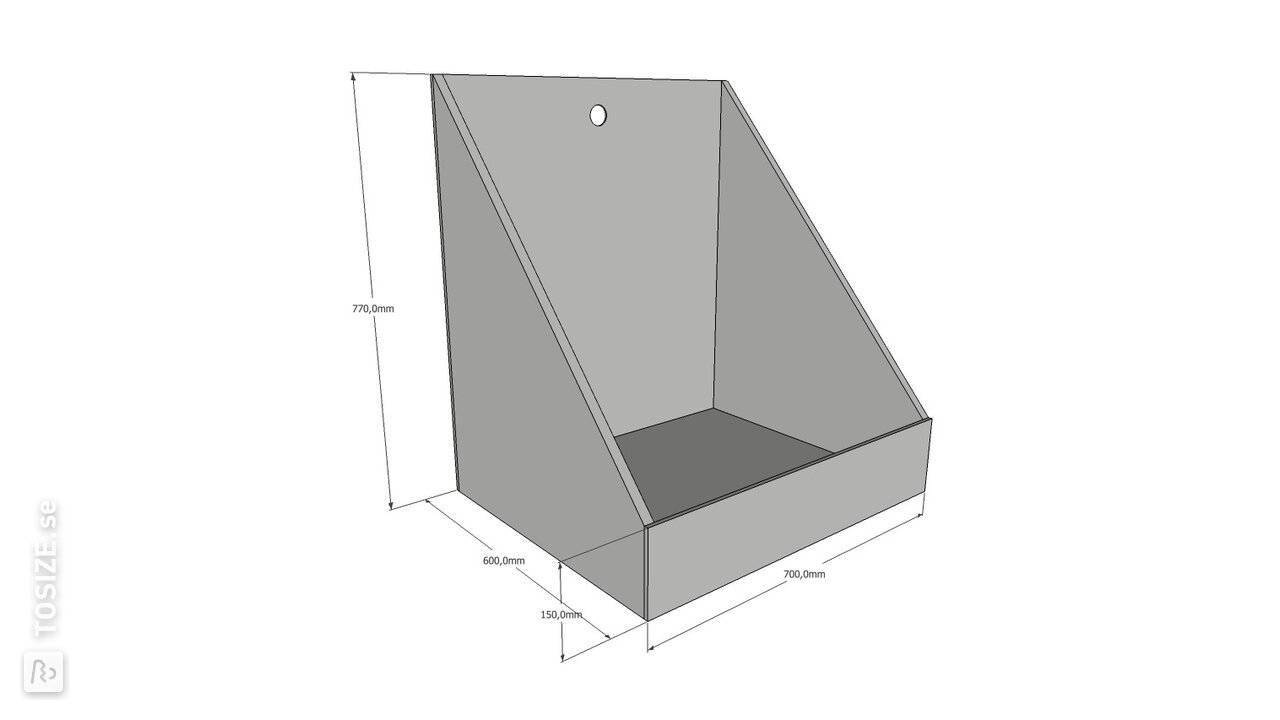
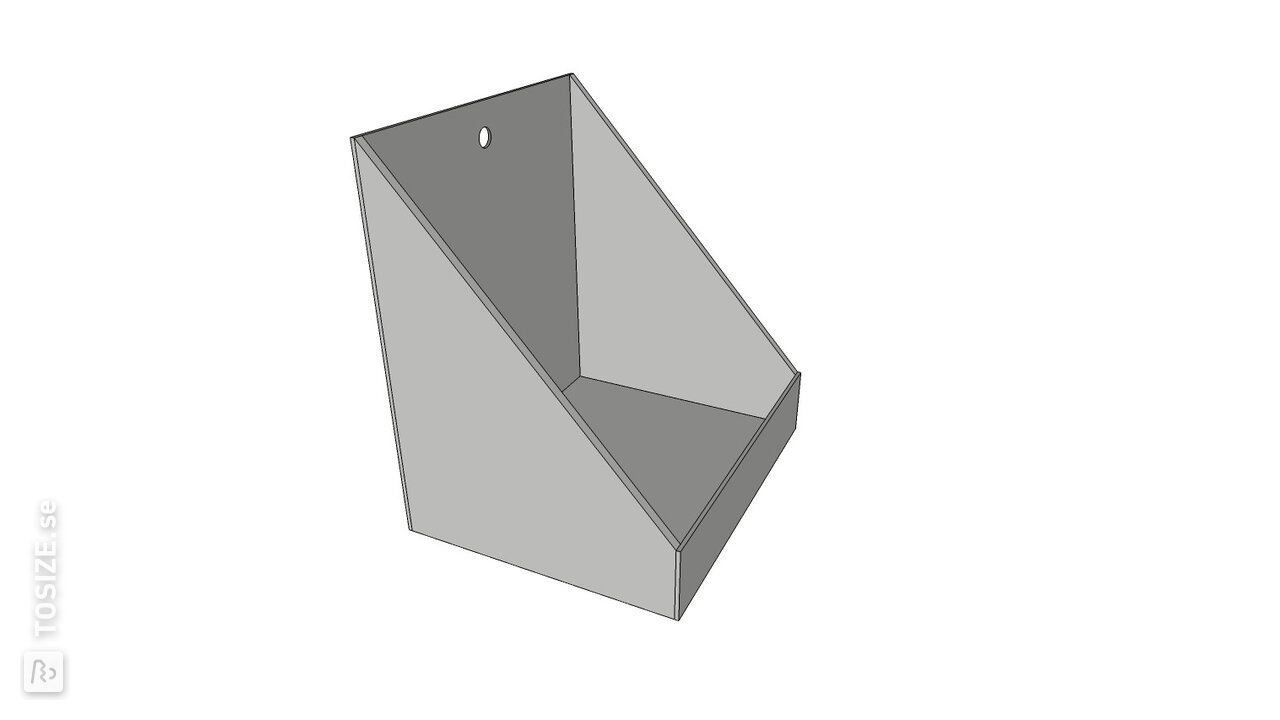
No attic is the same! That's why it's a good idea to create an MDF space-winner that completely matches the atmosphere and dimensions of your sloping roof. At TOSIZE.se, you can have your design, with any specific dimensions, cut to size. Even edge finishes are no problem for our sawing specialists.Will you go for a space-winner made of MDF on wheels? Or create a loft cupboard with drawer slides that will help you gain space? In all cases, it starts with a good design. Get inspired online by looking for examples of beautiful space winners and then get to work on a design yourself. Make a sketch of your idea to get an idea of the dimensions and which edge finishes will really finish your job. Also read our DIY tip: handy measuring tips you'll never forget! Do you have your saw list complete? Then go on to the next step and decide on the type of MDF.
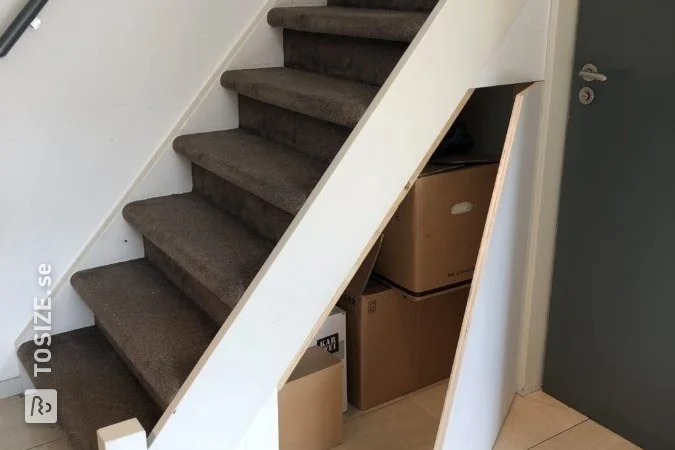
Tip: Use a large piece of cardboard and push it under the sloping wall in the attic, as if you were putting a book in the bookcase. Bend the corner of the piece of cardboard until it fits perfectly under the sloping roof. This creates a template that shows you the right dimensions for the storage box. This way you can immediately check that your house is straight and that the space under the roof is the same everywhere.
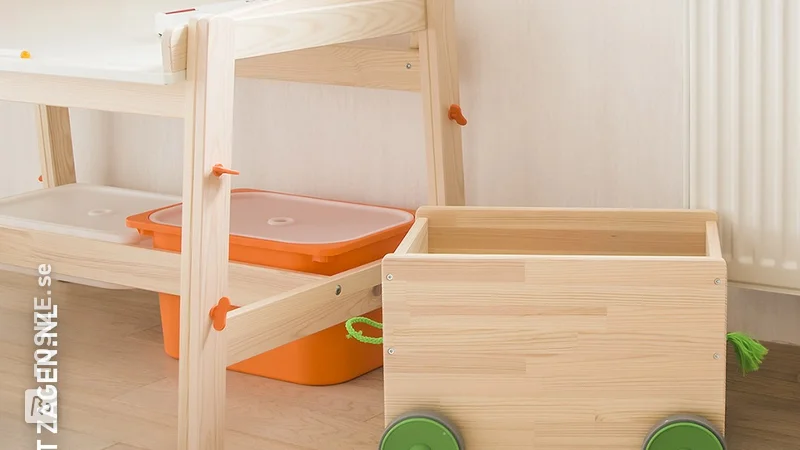
Tip: Have the plate you attach the handle to cut slightly longer and attach the other boards at such a height that the wheels disappear exactly behind the plate. This gives a sleek result!
Step 2: Choose the right variant of MDF
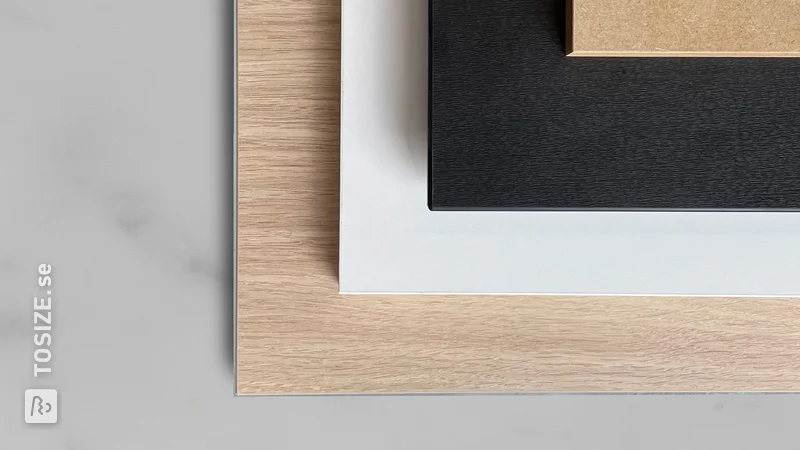
Space winners are often offered pre-assembled in MDF Natural, as this is the cheapest choice. You can place the space winner in the attic untreated, but it is also an option to paint the MDF in a colour that matches the interior of your attic. In that case, it's better to choose MDF Paint Carrier. This MDF is coated on both sides with a lacquer-carrying film that makes priming the material unnecessary. The foil greatly reduces the material's suction. In practice, it means you can start painting the room-winner immediately. Ideal!
Are you planning to paint your MDF space winner in a dark colour? Then use MDF Black Water-resistant, this is a moisture-resistant variant that makes it very easy to paint it tight! Still, apply a coat of primer first. This ensures that the material is less absorbent. Curious about the exact properties of the different types of MDF and how to process it? Watch our product videos to make a good choice.
Think out-of-the-box
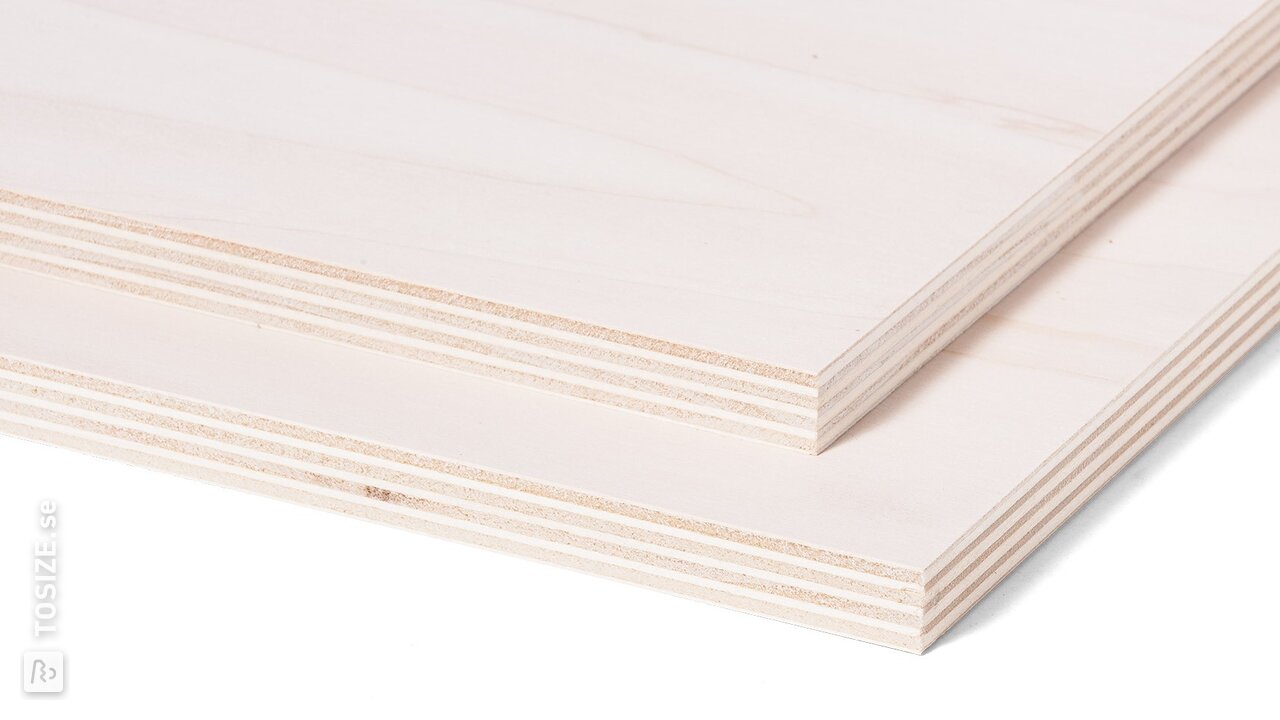
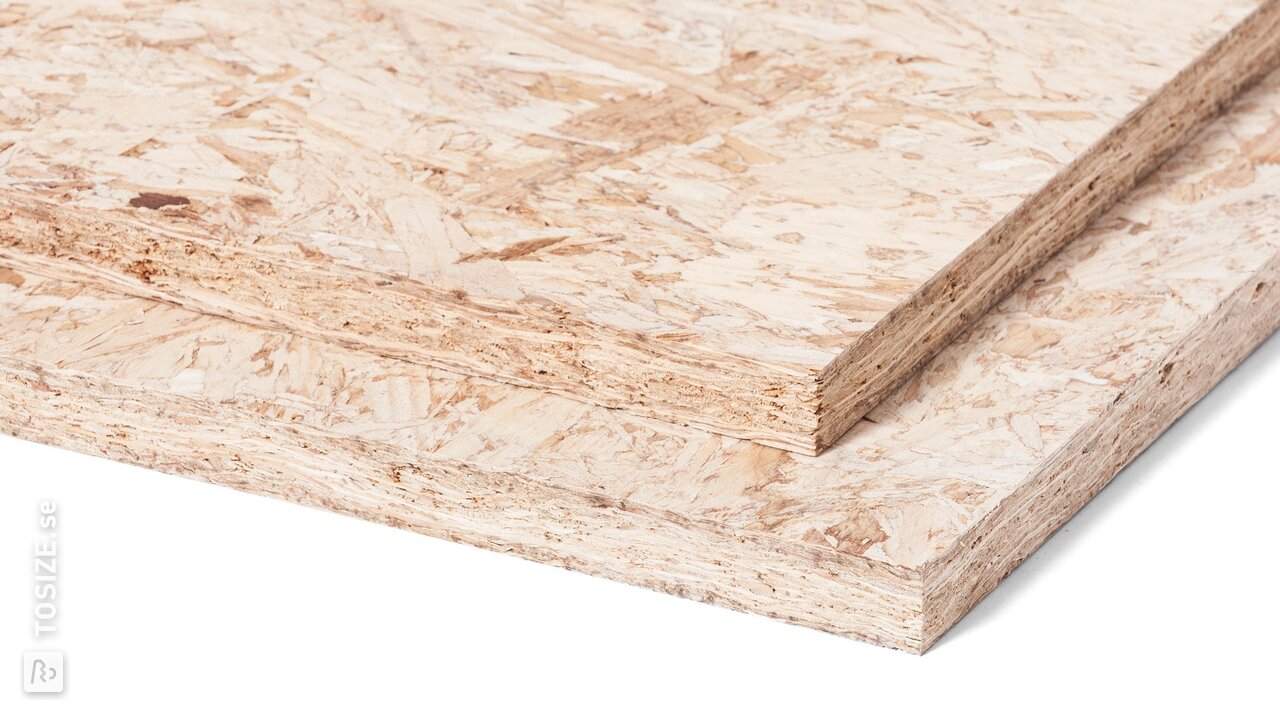
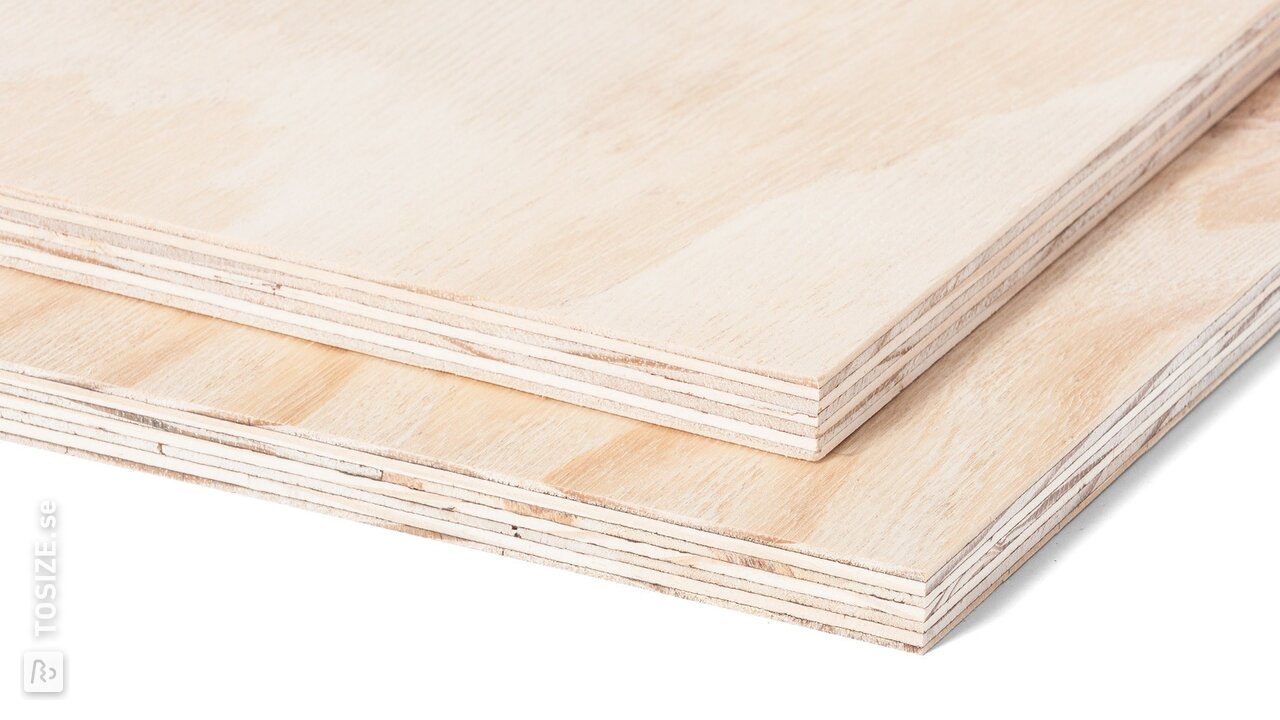
Also take a look at the otherwood and sheet materials in our webshop. Sometimes it can be surprisingly nice to choose a material you didn't think of at first. For example, a space winner made of OSB3, Plywood Interior Poplar or Underlayment Finnish Spruce. The natural look of these timbers adds atmosphere and character. This is how you create a unique space winner. We challenge you!
Step 3: Make a list of necessary accessories
At TOSIZE.se you can directly add the necessary accessories to your shopping basket. Very easy and this way you don't have to go to the DIY store afterwards. However, it is therefore useful to think carefully in advance about the accessories needed to assemble the MDF space winner yourself. Think about screws, wheels, maybe a handle to pull the space winner out from under the sloping roof, wood glue, drill, wood drill bit, sandpaper and paint. Want to make a recess in the space winner to serve as a handle? Read our DIY tip: Professional hole drilling in sheet metal.
Personalise the space winner
For a unique finish, you can add your name, that of your partner or your child(ren) to the MDF space winner. Using a letter template is very easy. Tip: decide in advance where you want to place the letters and stick the stencils with masking tape to prevent shifting. Carefully fill the letters with paint in the desired colour. This way, the space winner is completely unique and each family member knows which storage box in the attic belongs to him or her.
Step 4: Order your MDF space saver kit
Do you have the saw list complete? Then fill in the supplies on our website. By ordering your space saver MDF cut-to-size, you don't need any sophisticated (sawing) machines, you only pay for the material you need and you don't have to transport anything yourself. So it saves a lot of time! Want to order directly? Go to the shop. In no time, you will receive the material for your MDF space winner as a kit at your home.
Step 5: Mount the storage box
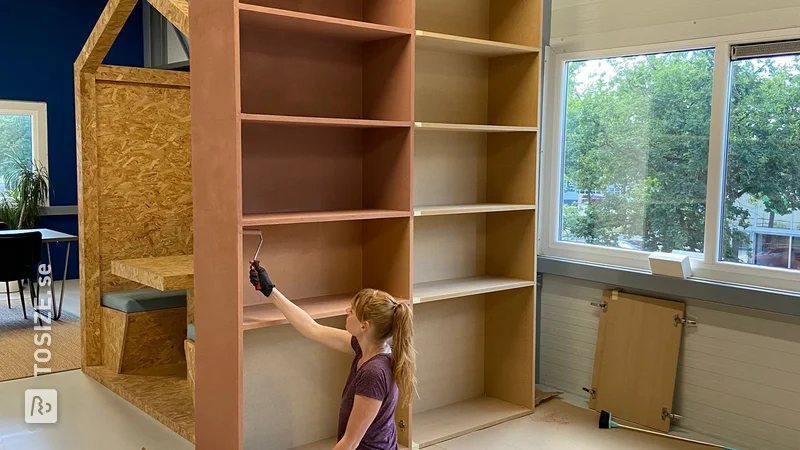
Time for action! With all the materials in the house, it is now time to attach the shelves of the space saver together. Before you start, get all the supplies ready, this will save you a lot of time during the job. First glue the sides of the room spinner together with wood glue and screw them down for strength. Then attach the wheels under the space winner and place the handle at the front or drill a hole yourself. Are you going to paint the space winner? Also read our DIY tip: Painting MDF
The final result
On a job you did yourself, you can be quite proud! We are very curious to see how the space gainer is parked under the sloping roof in your attic. Will you share a photo of the end result? We love it!